Best Travel Bottles: A Plain-English Guide
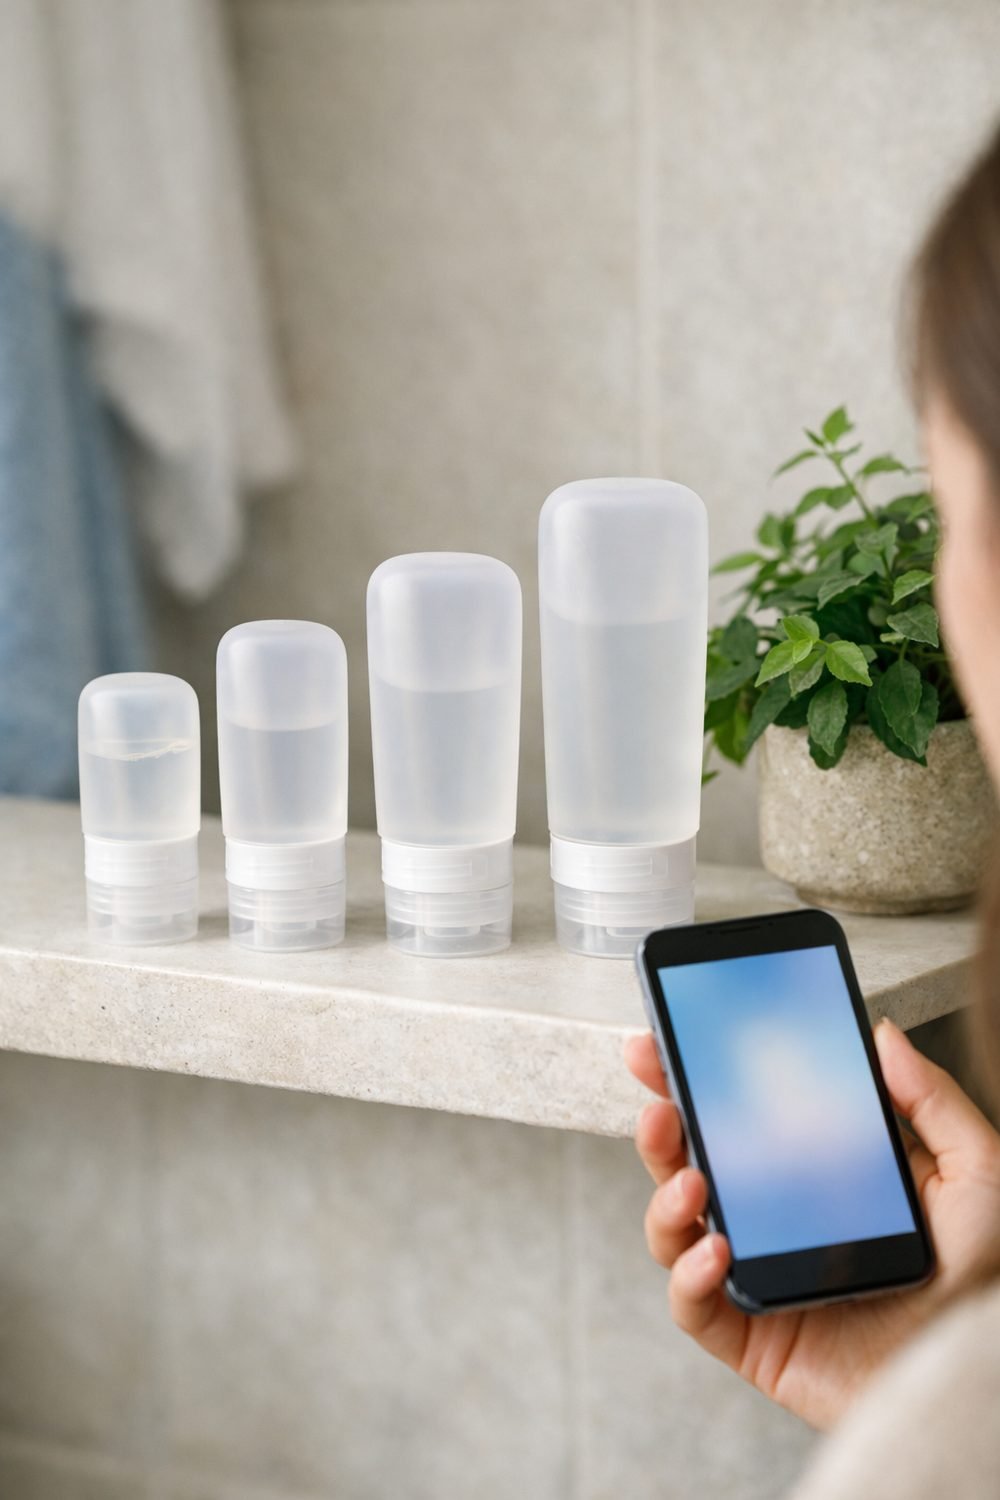
Many people think travel bottles are a boring part of packing and barely give them a thought. A bottle of conditioner that opens inside a carry-on on a short flight can mean spending the first hour of a trip rinsing a sweater in a hotel sink. Since then, I've paid a lot more attention to the little bottles I bring.
This guide covers what I've learned the slow way: how big your bottles should be, what they should be made of, how to keep them from leaking, and how to get them through airport security without a fuss. There's no magic bottle here. There are some that work well for certain things and some that are mostly hype.
One thing before we start. Liquid rules change, and they aren't the same at every airport or with every airline. Here is how to check, but please look at the official rules for your trip before you pack.
Short on time? Our top picks: Humangear GoToob, Cadonbo, Nalgene and Matador FlatPak. See all picks
Quick summary
- Check the liquid limit for your airport and airline before you buy anything. Don't trust old advice, mine included.
- Pick the bottle by what's going in it. Thick creams, thin liquids and gels all act differently.
- Silicone is soft and easy to squeeze but can hold smells. Hard plastic is cheap and simple to clean.
- Test every bottle at home, filled and upside down, before a trip.
- Label everything. Shampoo and conditioner look the same at 6 a.m.
- Keep a clear, resealable bag ready if your airport asks for one.
- Read the return policy before you buy a set, since a lot of people only find leaks after the first trip.
Start with the size rules, not the travel size bottles
The biggest mistake I see is buying a cute set of bottles first and checking the rules second. It should be the other way around.
Many airports limit how much liquid you can bring in your carry-on. Often there's a cap on how big each container can be and on how many containers fit in one bag. The exact numbers depend on where you're flying from and sometimes where you're flying to. Some airports have newer scanners and different rules, and some don't.
How to check the limit for your trip
Go to the website of the security agency for the country you're leaving from. Then check your airline's page too. If you have a connecting flight in another country, check that airport's rules as well. Rules for the way home can be different from the way out.
It helps to keep a note on your phone with the limit for each trip. It takes two minutes and saves me from standing at security, guessing.
Container size vs. how much is inside
This trips people up. In many places, security goes by the size printed on the bottle, not by how much is actually in it. A big bottle that's almost empty can still get pulled. So if the rule is about container size, a half-full large bottle doesn't count as small.
That's why I like bottles with the size molded or printed right on them. If an agent asks, the answer is right there.
Do you even need small bottles?
Sometimes you don't. If you're checking a bag, you can usually pack bigger bottles in it. If your hotel gives you shampoo and you don't mind it, skip it. And solid bars for shampoo, soap or lotion don't count as liquids in many places, which frees up room in your liquids bag. It's worth checking your airport's take on solids, but for me, swapping to a bar shampoo cut my bottle count in half.
Match your travel containers for liquids to what goes inside
Not every product wants the same bottle. This took me way too long to figure out.
Thin liquids
Things like toner, micellar water or mouthwash are runny. They find every tiny gap. For these, I want a bottle with a narrow opening and a cap that screws on tight, ideally with a small plug or valve inside. Flip-top caps are the most likely to fail with thin liquids.
Gels and travel shampoo bottles
Shampoo, conditioner and body wash are the middle ground. Squeeze bottles, such as the Humangear GoToob, work well here. Silicone is popular for these because you can get the last bit out. A flip-top is usually fine as long as it snaps shut firmly.
Thick creams
Face cream, heavy lotion and hair masks don't want to come out of a squeeze bottle. You'll be shaking it and hitting it on the counter like ketchup. Small screw-top jars, like the plain ones from Muji, suit these. They're easy to scoop from and easy to clean. Just be aware that they still count as liquids at most security checks.
A quick example
On a recent week-long trip, I packed this way: a screw-top jar for face cream, two silicone squeeze bottles for shampoo and conditioner, and a small hard plastic bottle with a tight cap for toner. Everything fit in my clear bag with a little room to spare, and nothing leaked. A year earlier, I'd put everything in matching flip-top bottles. The toner leaked and the cream never came out. Same trip length, very different result.
Silicone or plastic travel bottles: an honest comparison
The draft version of this post said "silicone or plastic," and that's really the main choice. Here's how they compare in my use.
Silicone bottles
These are soft and squeezy. You can get almost all of the product out, which I like. They also bounce instead of cracking if you drop them.
The downsides are real, though. Silicone can soak up smells. Some bottles keep a faint coconut smell even after three washes, which isn't great if you switch one to face wash. They can also be harder to fill if the opening is small, and the cheap ones sometimes have caps that don't seal well. Some silicone bottles are a bit floppy and tip over on a counter.
Hard plastic bottles
These are usually cheaper, lighter, and easy to clean. Many have screw caps that seal tighter than silicone flip-tops. The catch is that you can't squeeze them much, so getting the last bit out of a thick product is annoying. They can also crack if they're crushed in a packed bag.
Other options
You'll see glass and metal travel bottles too. Glass is nice for oils and things that might react with plastic, but it's heavy and can break, so I'd only bring it for one or two special items. Metal spray bottles are fine for perfume. For most people, though, I think glass is overrated for everyday toiletries.
If a product label says something about what it shouldn't be stored in, follow that. When in doubt, check the product's page or ask the seller.
My take
Silicone works well for shampoo, conditioner and body wash, while hard plastic with screw caps is a better fit for anything thin. You can skip the very cheap all-in-one kits with ten identical bottles. Half the bottles end up the wrong shape for what you need.
How to make leak proof travel bottles actually work
"Leak-proof" on a package is a hope, not a promise. Air pressure changes in a plane can push liquid out of a bottle that seems fine on the ground. Here's what has helped me.
Test at home first
Fill each bottle with water, close it, and leave it upside down on a paper towel overnight. In the morning, check for wet spots. Then squeeze it a few times while it's closed. If it drips at home, it will drip on a plane. Testing bottles before a trip is worth the effort, because a leak test at home can catch bad bottles before they cause a mess.
Don't fill to the top
Leave a little space at the top of each bottle. Some people squeeze out a bit of air before closing a soft bottle, so the pressure change has room to work without pushing liquid out. This simple habit has helped me more than any fancy cap.
Add a backup layer
- A small piece of plastic wrap under the cap before you screw it on.
- A rubber band or bottle sleeve around flip-tops so they can't pop open.
- Your clear bag itself, which keeps any leak from reaching your clothes.
None of these are perfect. Together, they make a mess much less likely.
Clean the threads
If product gets on the screw threads while filling, wipe it off. Gunk on the threads can stop the cap from closing all the way, and you won't notice until it's too late.
Filling and labeling without the mess
Filling small bottles is weirdly hard, even with the best travel toiletry bottles. The opening is tiny and the shampoo goes everywhere. A small funnel helps a lot. Some sets come with one, or you can use a cut piece of paper rolled into a cone in a pinch. Fill bottles over the sink, which makes cleanup simple.
Why labels matter more than you think
Clear bottles with white or cream products all look the same. Mixing up unlabeled bottles is easy, and washing your face with conditioner is a real possibility. It wasn't a disaster, but it wasn't fun either.
You can use the little labels some sets come with, a strip of masking tape and a marker, or a label maker if you own one. Write the product name and the date you filled it. The date helps because some products shouldn't sit around for months. If you're not sure how long a product stays good once moved into a new bottle, check its packaging or the brand's page.
Color coding
Some people buy bottles in different colors and assign each one a job. Blue for shampoo, green for conditioner, and so on. If you travel often, this is easier than labels that rub off. A mix works well: colored silicone for hair products, labels on the rest.
The clear bag and getting through security
Many airports ask you to put your liquids in a clear, resealable bag and take it out of your carry-on at the checkpoint. Some airports with newer scanners let you leave it inside. Again, check before you go.
Picking a bag
A simple zip-top freezer bag, such as a Ziploc, works in a lot of places, as long as it meets the size rule for your airport. You can also buy sturdier clear toiletry bags. A thicker bag with a flat bottom is a good pick because it stands up and doesn't tear, but a plain freezer bag is fine and cheap. Bring a spare. Mine split once in the security line, and the person behind me kindly handed me one of theirs.
Pack it last, on top
Put your liquids bag at the very top of your carry-on or in an outside pocket. Digging for it while the line waits behind you is stressful. If you're working out where everything goes in your bag, the Carry-On Luggage Buyer's Guide and Comparison Sheets below this post can help you compare bags with easy-to-reach pockets.
Things people forget count as liquids
- Toothpaste
- Lip gloss and liquid makeup
- Gel deodorant and spray deodorant
- Hand sanitizer
- Contact lens solution
Some items, like medicine or baby formula, may have special rules. Look at the official guidance for your airport and ask the agent if you're unsure. Don't guess with medicine.
If you like having your packing steps in one place, my free Vacation Countdown Checklist and 1-Day Itinerary Page is yours when you join the email list.
Buying a set vs. buying single travel toiletry bottles
Sets are tempting, and plenty of travel size containers come bundled that way. They come in a neat little case and look organized. But I've found they're often a mix of bottles you'll use and bottles you won't.
When a set makes sense
If you're starting from nothing and you travel a few times a year, a decent set can be a fine start. Look for one that includes different types: a couple of squeeze bottles, a jar, maybe a spray bottle. Avoid sets where every bottle is identical unless that's truly what you need.
When single bottles are better
If you already know what you pack, buy bottles one at a time to fit those products. It's slower but you won't end up with a drawer of unused jars. That's where I've landed after a few years of travel.
Check the return terms
This one's easy to skip. Look at the seller's return policy before you buy. A lot of leaks only show up on the first trip, and by then you may be past the return window. Some sellers won't accept returns on personal care items once opened. Read the policy on the seller's page so you know where you stand.
Common mistakes
These are common mistakes, so no judgment here.
- Buying before checking the rules. Your bottles might be too big for your airport, or you might need fewer than you think.
- Skipping the home test. An overnight upside-down test catches most bad bottles.
- Filling to the brim. Leave space at the top for pressure changes.
- Putting thick creams in squeeze bottles. Use a jar instead and save yourself the frustration.
- Not labeling. You will mix them up, usually when you're tired.
- Using smelly old silicone for a new product. If a bottle still smells after washing, retire it or keep it for the same product.
- Forgetting the way home. Rules at your return airport might be stricter. Check both directions.
- Packing the liquids bag at the bottom. Keep it on top for a faster security line.
Cleaning and caring for your travel bottles
After a trip, I empty each bottle, rinse it with warm water and a drop of dish soap, and let it dry open, cap off, upside down on a towel. Drying matters. A bottle closed while damp can get musty.
For narrow bottles, a small bottle brush helps. Silicone ones can often be turned partly inside out at the opening, depending on the design. Check the seller's care notes before putting any bottle in a dishwasher, because not all of them are made for it.
Once they're dry, I store them together in my clear bag so they're ready for the next trip. It's a small thing, but it means I never have to hunt for them the night before I leave. I keep a line for "refill bottles" in my packing list too, and if you want something ready-made for that, the Trip Planner and Packing Checklist Bundle is below this post.
Travel bottle picks worth a look
These are real, widely sold options that fit the types of bottles covered above. Match each one to what you plan to put in it, and check the airport rules before you buy.
Humangear GoToob
A well-known squeezable silicone bottle that suits shampoo, conditioner and body wash. Check that the cap closes firmly and test it upside down at home, since seals matter more than the brand name.
Cadonbo
A common choice for people who want a ready-made silicone bottle set in one purchase. Look at which bottle types are in the set so you don't end up with several you will never use.
Nalgene
Known for sturdy hard plastic containers, including small leak-resistant bottles and jars. These suit thin liquids like toner or mouthwash. Check the stated container size on the bottle against your airport's limit.
Matador FlatPak
A flatter style of travel bottle that packs neatly in a toiletry bag. It suits people who want to save space. Check how the cap and opening work, and whether it is easy to fill and clean.
Muji
Sells simple plastic travel bottles and small jars in a plain style. A good fit if you want to buy single containers for the products you actually pack. Check the cap type for each one, since flip-tops and screw tops behave differently.
Bellroy
Makes clear and water-resistant toiletry bags that work as a liquids bag. It suits frequent flyers who want something sturdier than a freezer bag. Check that the size meets your airport's clear bag rule.
Ziploc
Resealable freezer bags are a cheap, easy liquids bag for most trips. They suit occasional travelers and make a handy spare. Check the bag size against your airport's rule before you rely on it.
Check current plans and prices on each brand's own site before you buy.
FAQ
What size travel bottle should I buy?
It depends on the liquid limit at your airport and with your airline, so check their official pages first. Then think about how long your trip is. For a weekend, the smallest bottles are usually plenty.
Are silicone travel bottles better than plastic?
Not always. Silicone is easier to squeeze and won't crack, but it can hold smells and some caps don't seal as well. Hard plastic with a screw cap is often better for thin liquids.
How do I stop my travel bottles from leaking on a plane?
Test them at home upside down overnight, leave space at the top, and add plastic wrap under screw caps. Keeping everything in a sealed clear bag means any leak stays contained.
Can I bring medicine in travel bottles?
Rules for medicine can be different from normal liquid rules. Check the official guidance for your airport and ask a pharmacist or your doctor if you're unsure about moving a medicine into another container.
Your next step
Before your next trip, pull out whatever bottles you already own, fill them with water, and leave them upside down tonight. You'll know by morning which ones to keep. If you'd like a simple way to plan the days before you leave, grab the free Vacation Countdown Checklist and 1-Day Itinerary Page by joining the email list. After that, take a look at the Carry-On Luggage Buyer's Guide and Comparison Sheets and the Trip Planner and Packing Checklist Bundle below this post if they fit how you travel.
Printables and tools that can help
Carry-On Luggage Buyer's Guide and Comparison Sheets
A printable guide and comparison sheets to write down what matters to you before you look at any seller...
See detailsTrip Planner and Packing Checklist Bundle
A printable bundle with a 30-day goal page, weekly planner and checklists for frequent travelers and...
See details